I’ve decided to do a yearly drain and fill on my 2009 Mitsubishi Outlander transmission fluid instead of the flush every 2 years as suggested in the manual. The dealership flushed the fluid after the first two years so I’m sure most of the contaminants from break-in are out of the system and now it’s just a matter of keeping the fluid fresh and making sure it isn’t breaking down. Transmission fluid quality is important for all vehicles but what stresses it the most is high fluid temperatures which can be generated while towing or on loose surfaces like sand and to a lesser extent snow.
Amsoil doesn’t sell a transmission fluid that meets the specifications of the DiaQueen J2 fluid for this vehicle at this time. I appreciate that the company does not push consumers to a generic ATF product if it doesn’t meet the spec. Amsoil stands behind their lubricants with their warranty secure program so if the application guide suggests an Amsoil product for your vehicle you can use it with confidence.
UPDATE [2013-04-12]: AMSOIL has tested their Signature Series Fuel-Efficient Synthetic Automatic Transmission Fluid (ATL) and approved it for use where Mitsubishi J2 fluids are required.
I stopped in at the dealership to pickup an engine air filter and 5L of DiaQueen J2 at the parts desk – I only used 4L but wanted to make sure I had a little extra. At home you’ll need a 14mm socket for the plug.
I put the vehicle up on ramps since I was doing both the transmission and the oil at the same time. You may want to as well for the first time you drain and fill the transmission – but once you know where the plug is it’s easily accessible without ramps.
Do not be tempted to undo the transfer case drain plug which is near the back of the engine in the middle. The transfer case drain plug on my vehicle uses a hex key which makes it easy to distinguish from the transmission drain plug.
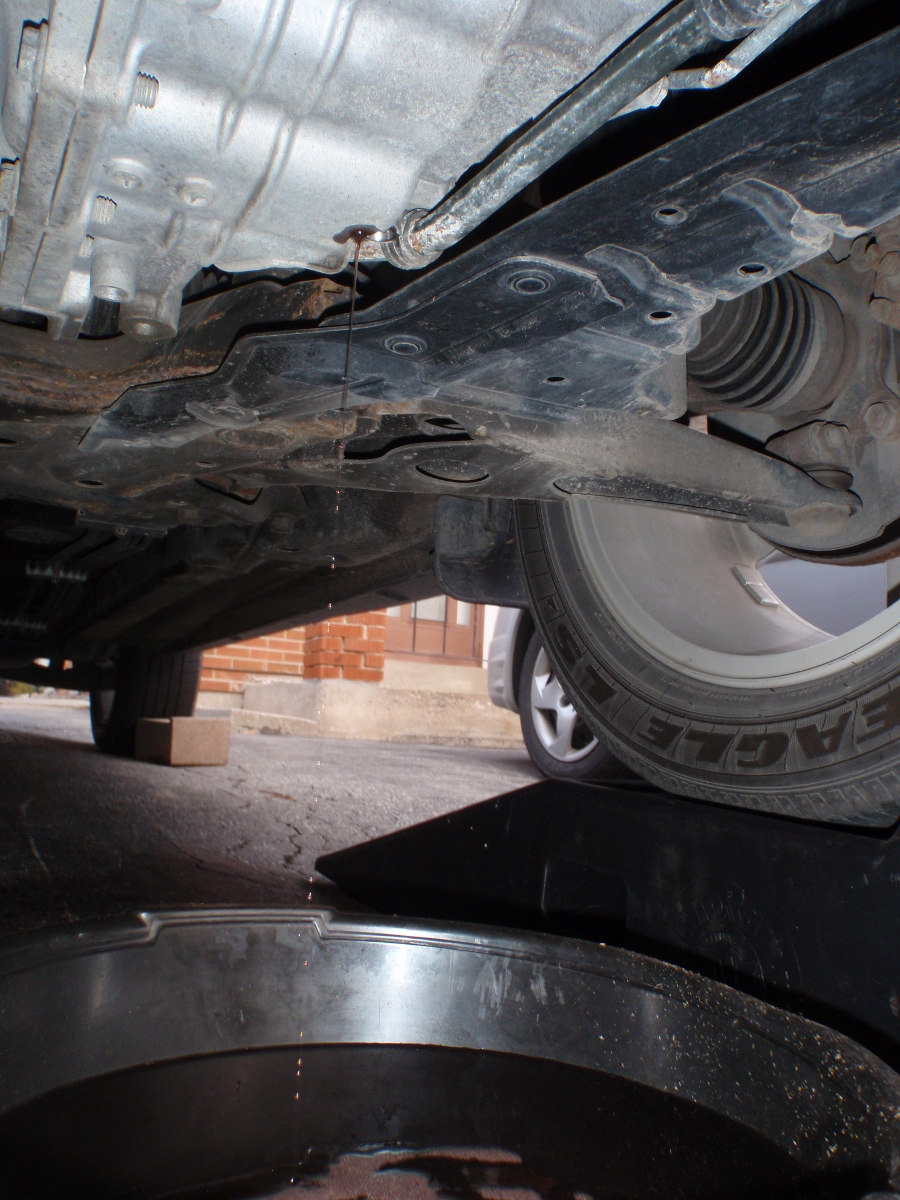
The transmission fluid drain plug is located on the passenger side near the front wheel and is a simple bolt head.
I measured 3.75L of fluid that drained out so I put that amount back in but overfilled the case. Using the drain bolt under the vehicle I adjusted the fluid level to be between the lines over the next few days. The dipstick is hard to read, requires a flat surface and time for the fluid to return to the sump.
Next time I’ll fill with 3L and then add and check until I get to the high mark on the dip stick. I’ve read online that it’s around 3.2L you can expect to drain out. Be sure to check the level again after you’ve started the car and again after you’ve driven for a while and the pump has had time to get any air out.
Do not over tighten the bolt when you re-install it. The transmission is aluminum and over-tightening will strip the threads. I snugged up the drain bolt using my large socket wrench. The online service manual may have a torque value that is too high.
Here are some pictures of the drain. You can see the bolt with the rubber gasket on the threads just above the socket wrench.
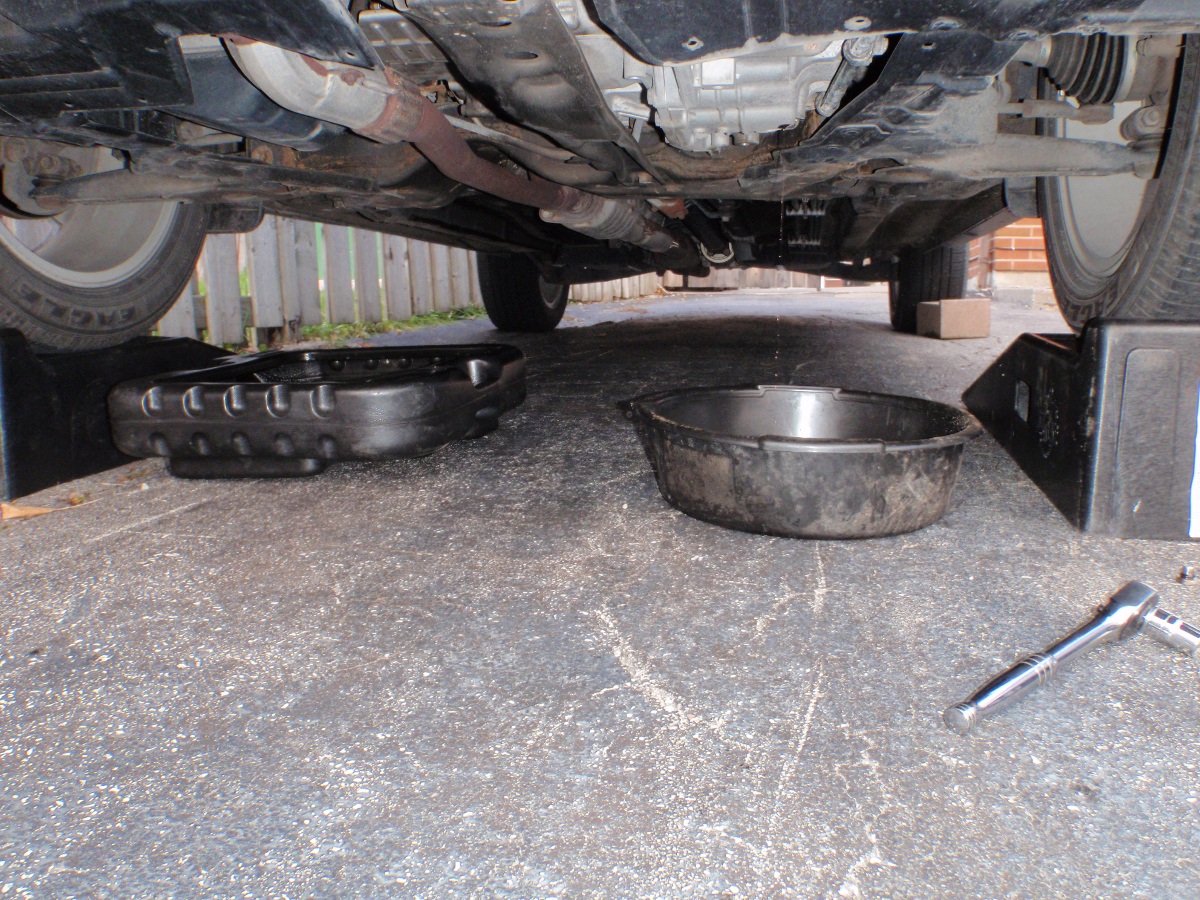
Drivers side….